

Can You Spray Paint A Keyboard
DIY colorful figurer keyboard
by: Chica
This post may contain affiliate links and nosotros may be compensated if you make a purchase after clicking them.

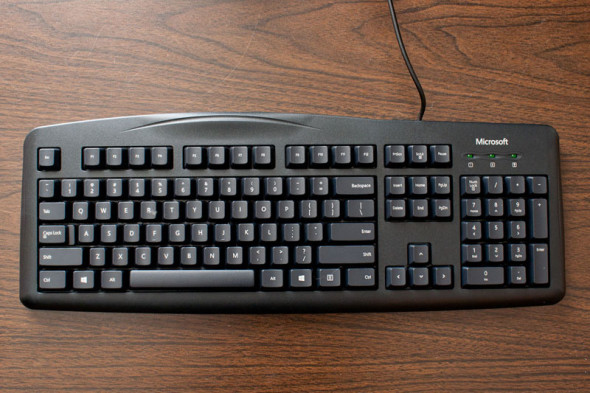
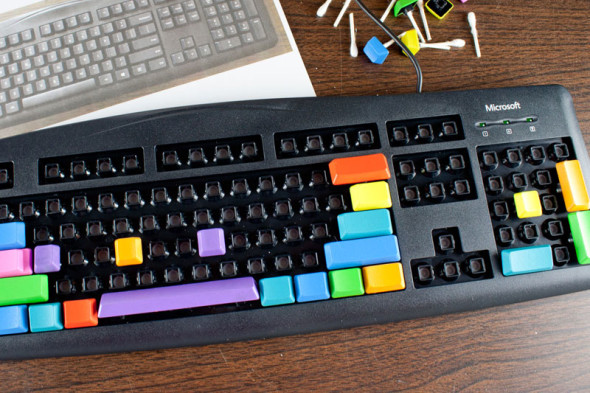
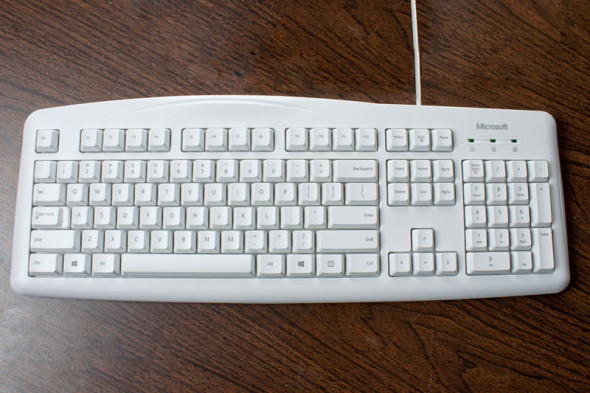
Betwixt my chore and my personal life, I spend a lot of time on the computer every day. A LOT. So much that I really demand my workspace to be cheerful, fun, and inspiring. A plain old black keyboard like this but doesn't fit the nib. Merely what's a girl to do?
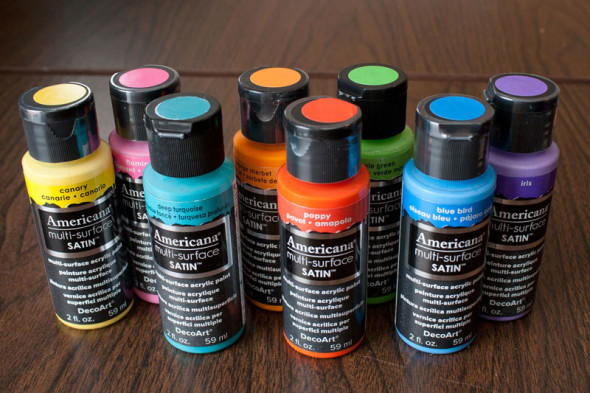
I've been going crazy lately with the new Americana Multi-Surface Satin Paints from DecoArt, considering they are so piece of cake to apply and work on just well-nigh any surface you can imagine, including plastic. I had some sitting on my desk-bound the other day, most my keyboard, and I thought... Could I? Should I? Yes!
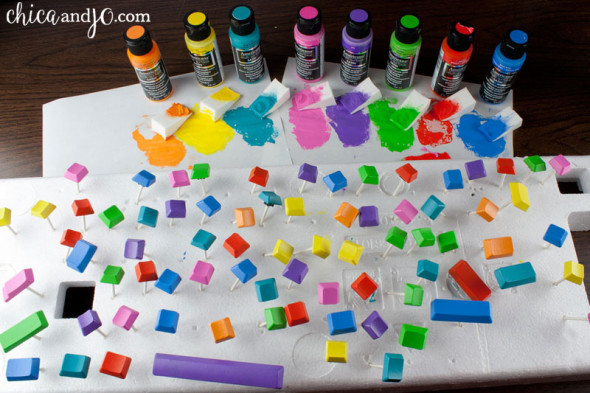
I picked out a set of my favorite bright colors: Canary, Flamingo, Deep Turquoise, Orange Sherbet, Poppy, Apple tree Dark-green, Blue Bird, and Iris.
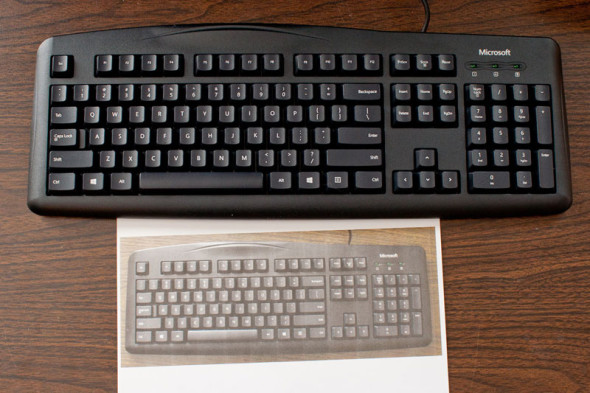
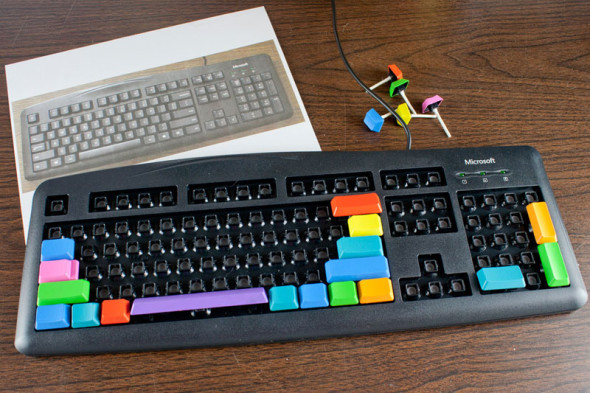
Then I picked out a keyboard. I needed something simple, basic, and cheap. I plant the perfect match with the Microsoft Wired Keyboard 200 for Business organisation, which has a minimal blueprint, comes in black and white, and is very affordable. It besides had the benefit of having the letters printed on apartment, rather than raised. You don't want raised letters, or else they will show later you paint the keys.
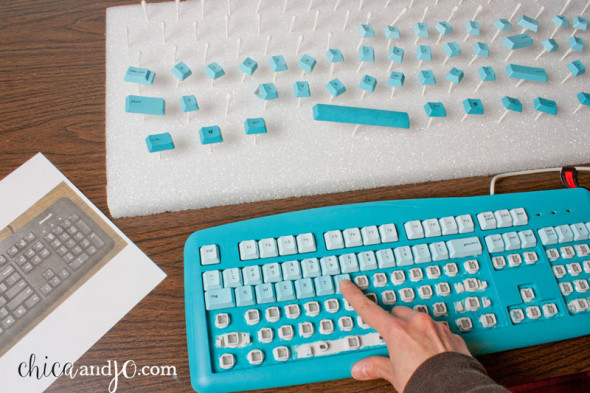
The first matter I did before I started messing with the keyboard was to take a picture of it and print it out. This was going to exist a vital reference point afterwards on in this project!
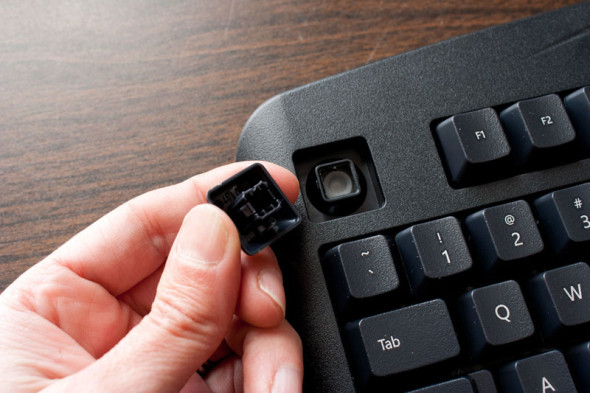
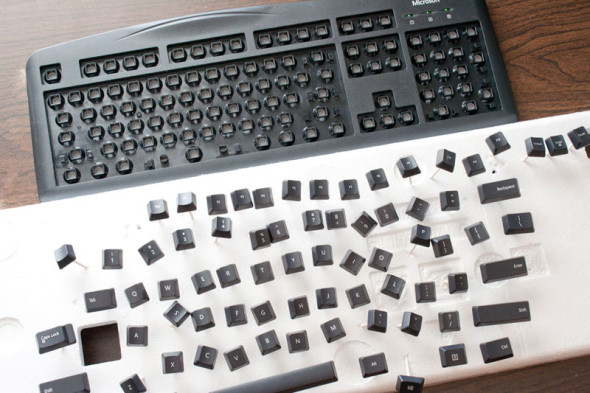
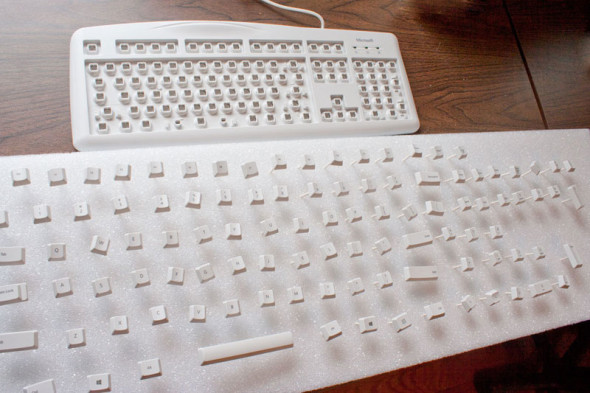
Next I began the job of removing all of the keys from the keyboard. I used a sparse letter opener to pry them off, simply you can use anything flat that you can go up under the keys.
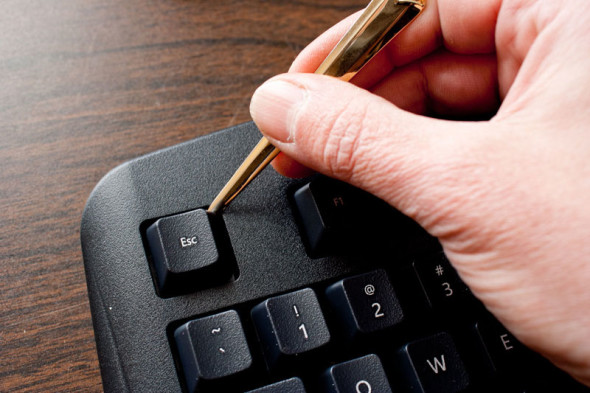
Every type of keyboard is going to exist a little different, just the keys on this kind have a piddling square cavity on the back that hold them in place.
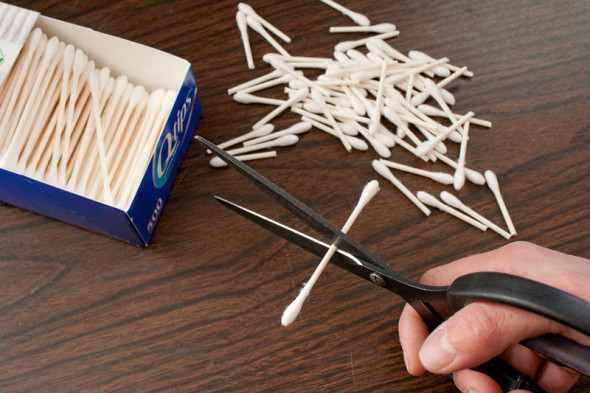
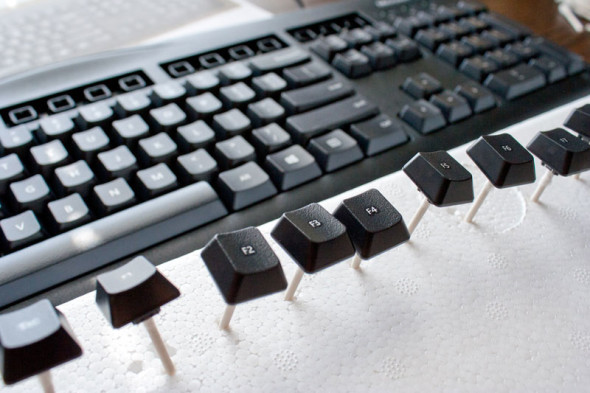
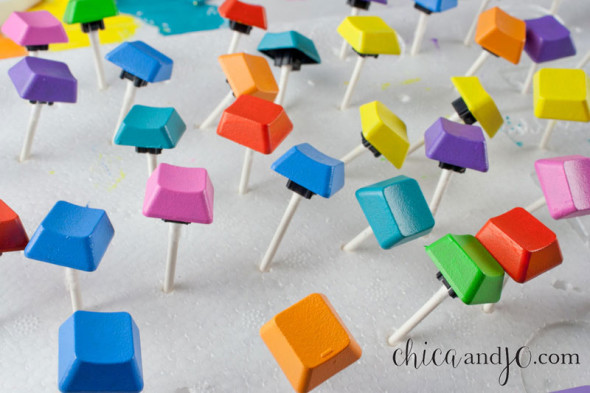
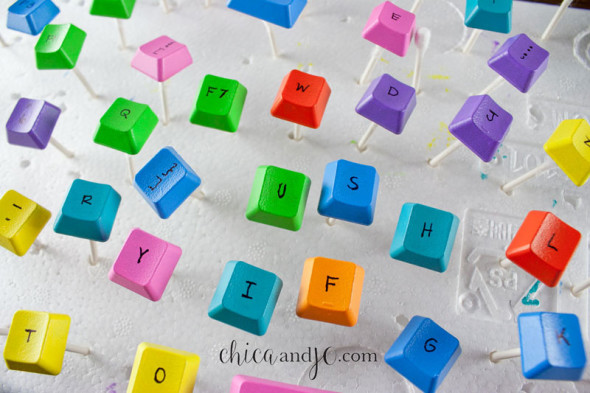
I needed to come up up with a mode to prop the keys upward to dry after I painted them, so I got to thinking about what I could put in that little square cavity. I'm not certain where the idea hit me, just I realized that the cushy end of a Q-tip would be perfect! I cut some Q-tips in half because I only needed the fuzz on one cease.
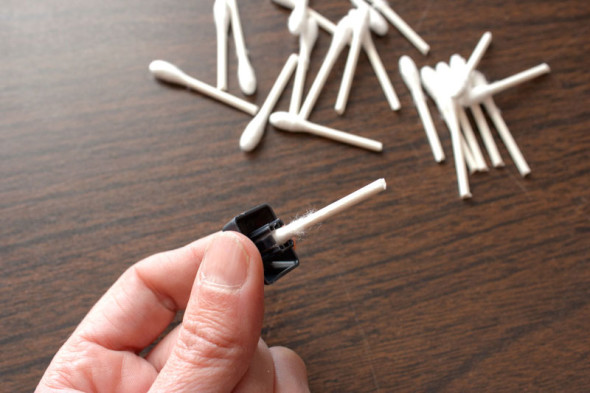
Then I stuck one half into each key. Information technology fit snugly and made a perfect little handle.
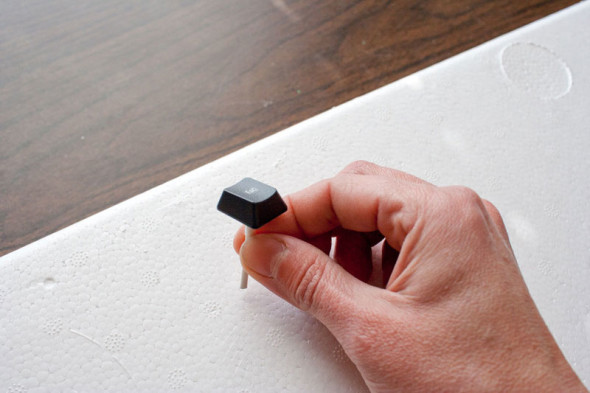
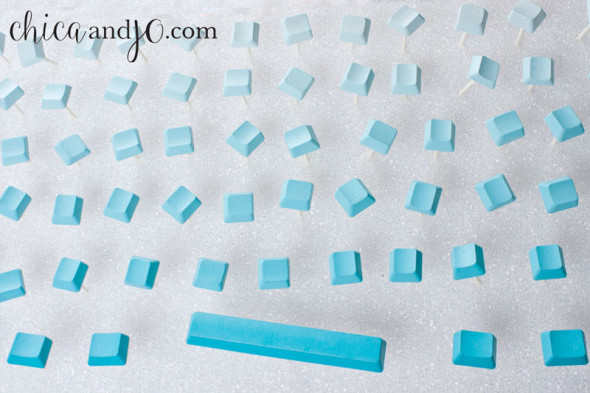
And then I just stuck each 1 into a chunk of cream I had left over from the packaging on some electronics.
I sort of put the keys in society, but didn't worry near information technology too much because I knew I was going to be painting randomly with different colors and information technology didn't matter.
Every bit I did this, I fabricated notation of the fact that nearly of the keys were the same size, simply some were different sizes, like the Shift, Tab, Enter, and Backspace key.
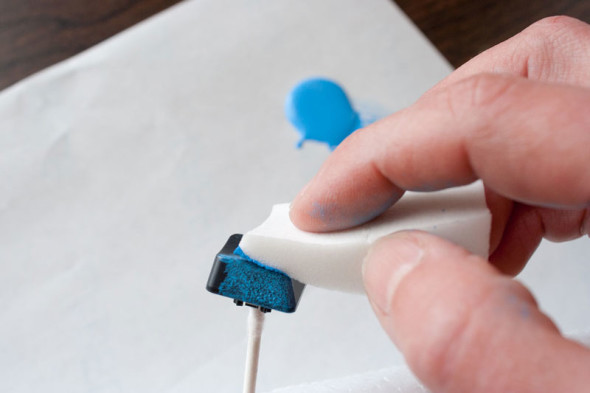
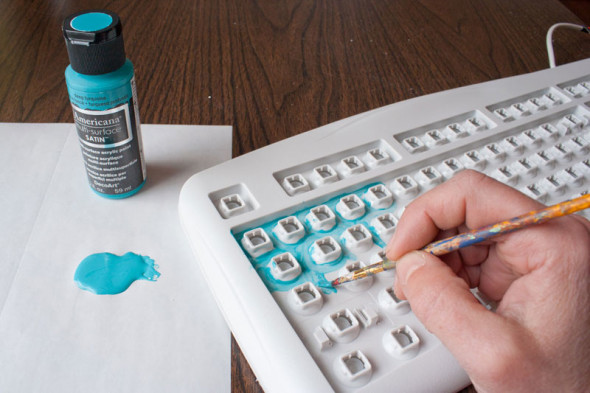
And then it was time to start painting! To get a nice, smooth finish, I used a cosmetic wedge to gently dab some of the paint onto the key. I only practical a very thin coat, so that no blobs or brushstrokes would appear. These wedges exercise a great job of making an fifty-fifty coat.
Since I was going to use eight colors in all, I painted roughly 1/8 of the keys with this kickoff colour.

And then I moved on to the other colors, painting virtually the same number of keys with each color. I made sure to pay attending to those larger keys and was careful not to use the same colour on two that were going to exist next to each other, similar the Shift and Enter keys.
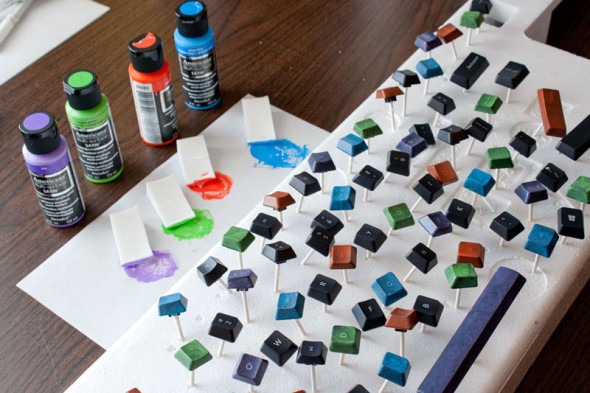
This paint dries pretty quickly, so by the time I was washed with the first coat of all the colors, I was able to start again with another glaze. I kept on applying sparse coats until I got the opacity I was looking for. Some colors (like the yellowish) took more coats than others (similar the purple).
Don't you lot just beloved this regular army of brightly-colored keys?
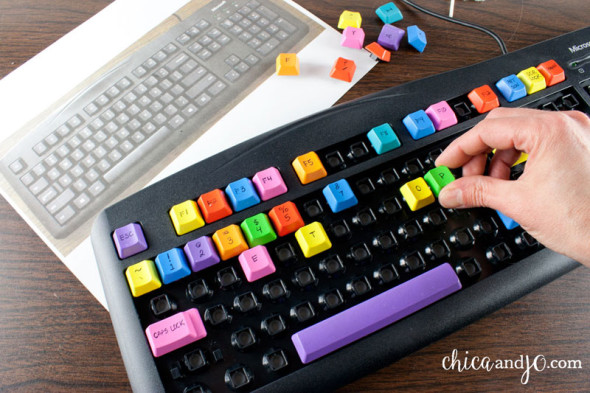
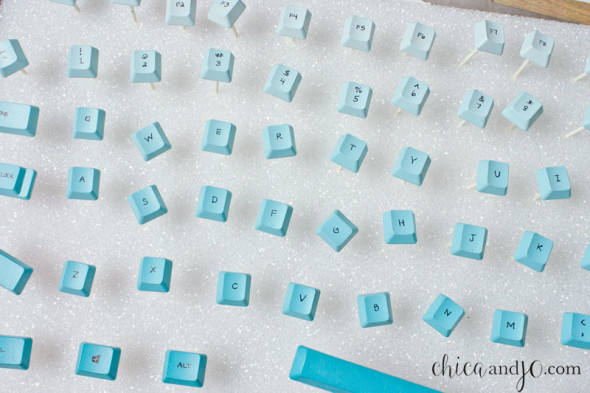
Of course, I'd covered upward the messages on these keys, and I needed to gear up that. But rather than just go willy-nilly writing them on, I stopped to do some conscientious arranging first. I referenced my photo and started putting the keys back on the keyboard, advisedly setting them at that place WITHOUT pushing them down in identify. I started with the bigger keys, and made sure I had a good color distribution.
And then I looked through the smaller keys and institute the three with the little sensory bumps on them. If y'all've never noticed, almost keyboards have piffling bumps on the F and J, to help touch typists find "home row" without looking. If your keyboard has a keypad on the side, like mine does, there will also be a crash-land on the 5 primal.
You lot desire to make certain to put these three keys dorsum in the proper place on the keyboard.
And then I filled in the remaining spots with the regular keys, again Non pushing them downwards, but just setting them there gently. I took time to distribute the colors around evenly and get a look I was happy with.

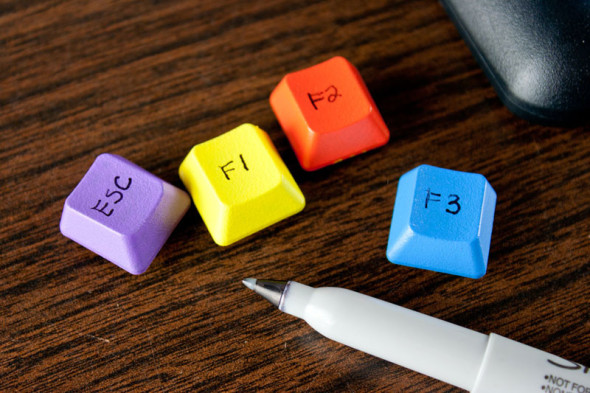
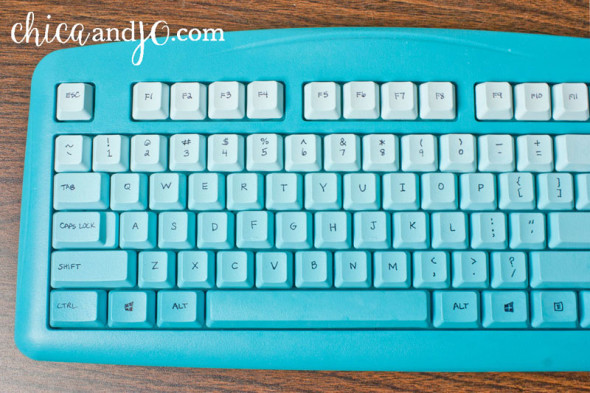
Finally I was fix and fix to write the messages on. I took the keys off, ane by one, referenced my photo carefully, and used a fine-tip blackness Sharpie to write the advisable letter/word on each one.
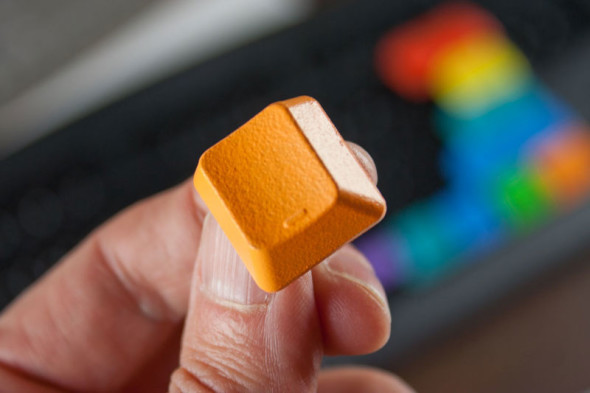
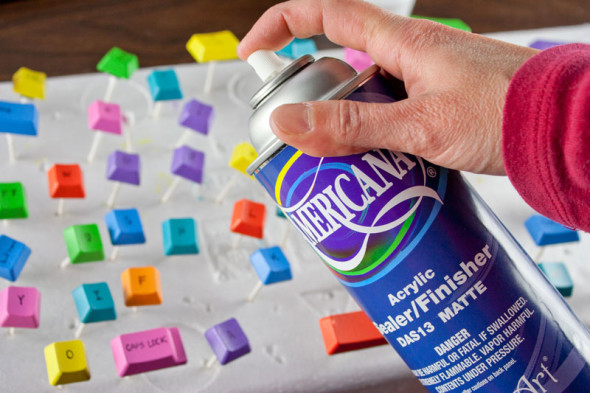
The Multi-Surface paint itself has a lovely satin finish that doesn't require any sort of sealer, just I was worried about the Sharpie wearing off with repeated use, so I put all the keys back on their Q-tip pegs and gave them a couple light coats of Americana Sealer/End matte spray for adept measure. Be careful not to put too heavy of a coat, though, as that may crusade the paint to crackle.
Then all that was left was to stick the keys back in place, pushing them downwards for good this time.
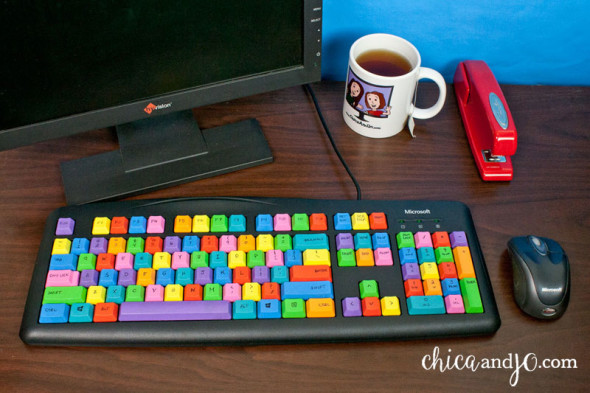
Only look how cool the result is. Tin you lot even believe it?
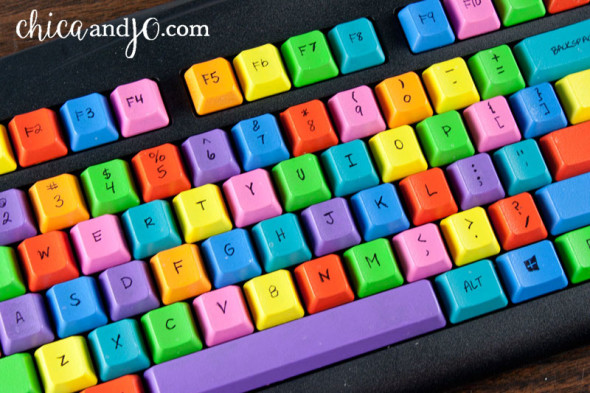
I am completely in love with this keyboard and how lovely it looks on my desk at work!
The possibilities with this technique are endless. I was flooded with ideas for color combinations, and I decided to make some other keyboard for my desk at dwelling house. This time I focused on a color I've been fascinated with lately (turquoise) and a tendency that everyone loves — ombré!
Over again I went with the perfectly-suited Microsoft Wired Keyboard 200 for Business, but this time I got white so that it would be easier to cover.
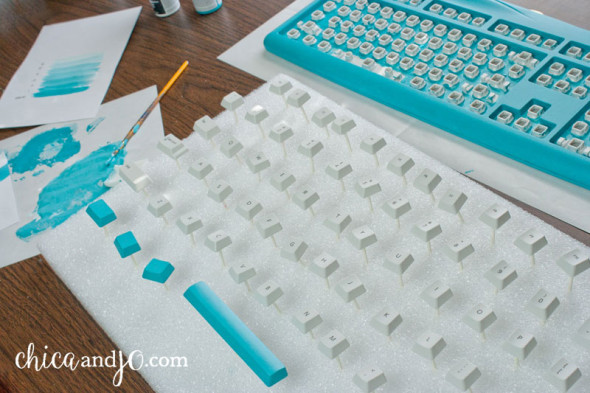
To accomplish the ombré pattern I wanted, information technology was critical that I keep the keys in the exact position during the painting this time. Then I was very careful to line them upwards perfectly. I switched from my old clamper of packing foam to a 2"x12"x36" sheet of Styrofoam, which did a amend job of holding the keys upright.
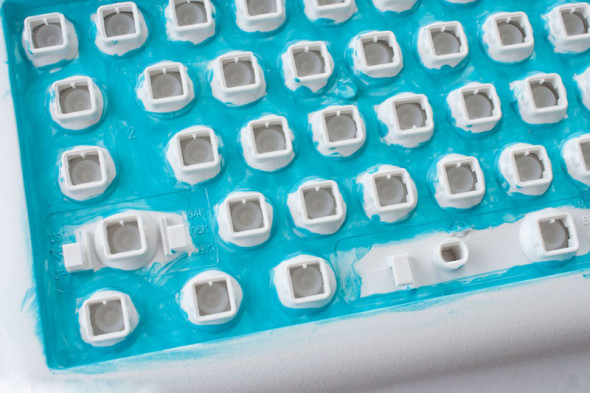
This fourth dimension I wanted to pigment the whole keyboard, not simply the keys. I started by painting the surface area nether where the keys go, merely using straight Deep Turquoise.
Since the keys would end up covering well-nigh of the expanse, I didn't accept to be too neat, and I didn't have to embrace it all. I merely needed to establish a good background color.
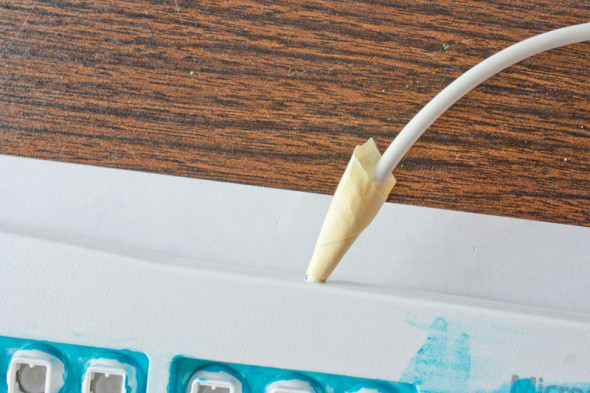
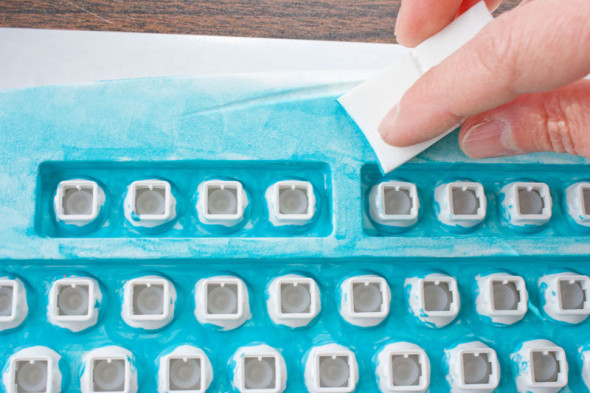
I used some masking record to protect the cord from paint.
I used a small castor to paint around the little lights on the corner of the keyboard.
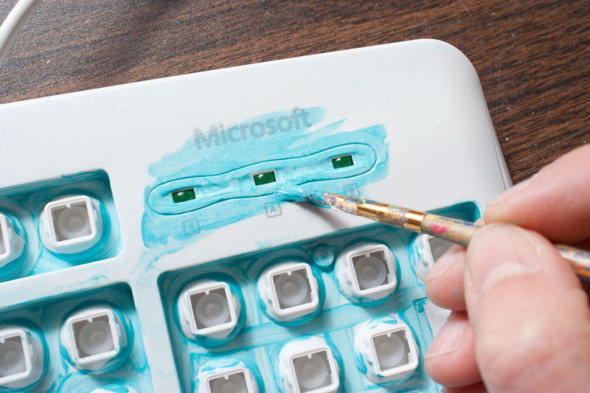
And so I grabbed another cosmetic wedge and applied the Deep Turquoise to the rest of the keyboard.
I kept adding coats of color until I got the coverage I wanted.

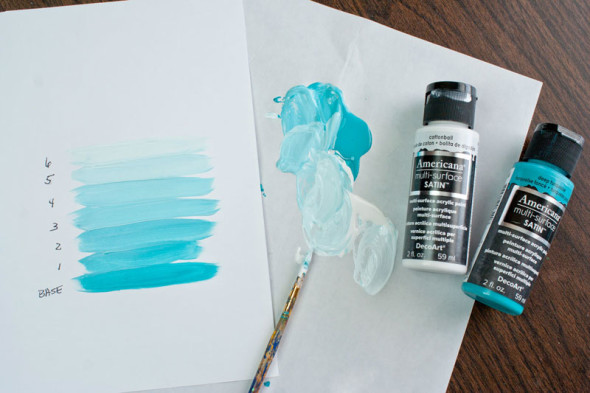
At last, it was fourth dimension to work on the ombré. I wanted to brand each row of keys a different color, so I knew I would need 6 shades of turquoise. I decided to play with the colors a little on scrap newspaper first, so that I had a good reference point. I just mixed a little more Cottonball in with the Deep Turquoise to achieve each shade.
So I used the same technique every bit before to use pigment to the keys with the cosmetic wedge. I started with my darkest shade, which I put on all the keys on the bottom row.
Then I moved up, row by row, using the lighter shades, finishing with the lightest at the elevation. I found the white keys a LOT easier to cover with pigment than the black keys were, particularly for the light colors!
Then I wrote the letters on, and sealed the keys similar before.
When the keys were dry, I popped them back in place on the keyboard. Fortunately, I could use the same keyboard photo as before, since this white keyboard had the aforementioned layout that the black one did.
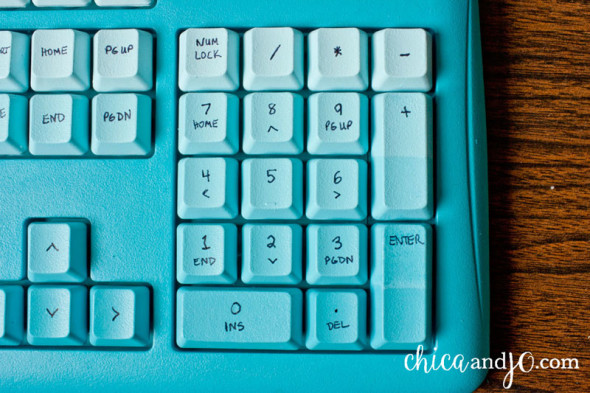
Gee, I thought I loved the commencement rainbow keyboard, but I might beloved this one fifty-fifty more! The ombré issue is but what I was aiming for, and the gradation is gradual and perfect.
By the way, there are ii keys on this keyboard that actually cross over two rows. When I got to those, I just painted the first color over the whole thing, let it dry, masked information technology off, and then painted the top with the lighter colour. Piece of cake peasy!
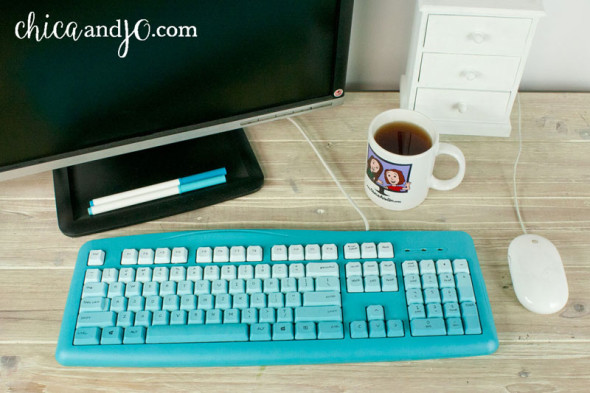
The fashion this keyboard looks on my desk at home is pretty stinking awesome, wouldn't y'all say?
I already take tons more ideas for other color combinations for more DIY colorful keyboards. I tin can't wait to make them and share the results with you all!
![]()
similar projects
leave a comment:

Hi there! Nosotros are Chica and Jo, best friends who love to create whenever nosotros can. From fun DIY projects to elaborate parties to succulent recipes, you're sure to find ideas that volition inspire you. Accept a look effectually and follow us @chicaandjo to run across what nosotros're upwardly to today.
looking for something?


Source: https://www.chicaandjo.com/diy-colorful-computer-keyboard/
Posted by: granadosguried.blogspot.com
0 Response to "Can You Spray Paint A Keyboard"
Post a Comment